Using the Chat Interface
Start a conversation with an AI assistant and get answers grounded in your data.
Where to find it
- Assistant chat:
/assistants/<assistant-id> - Home page quick chat:
/(routes to the default assistant)
Main chat flow
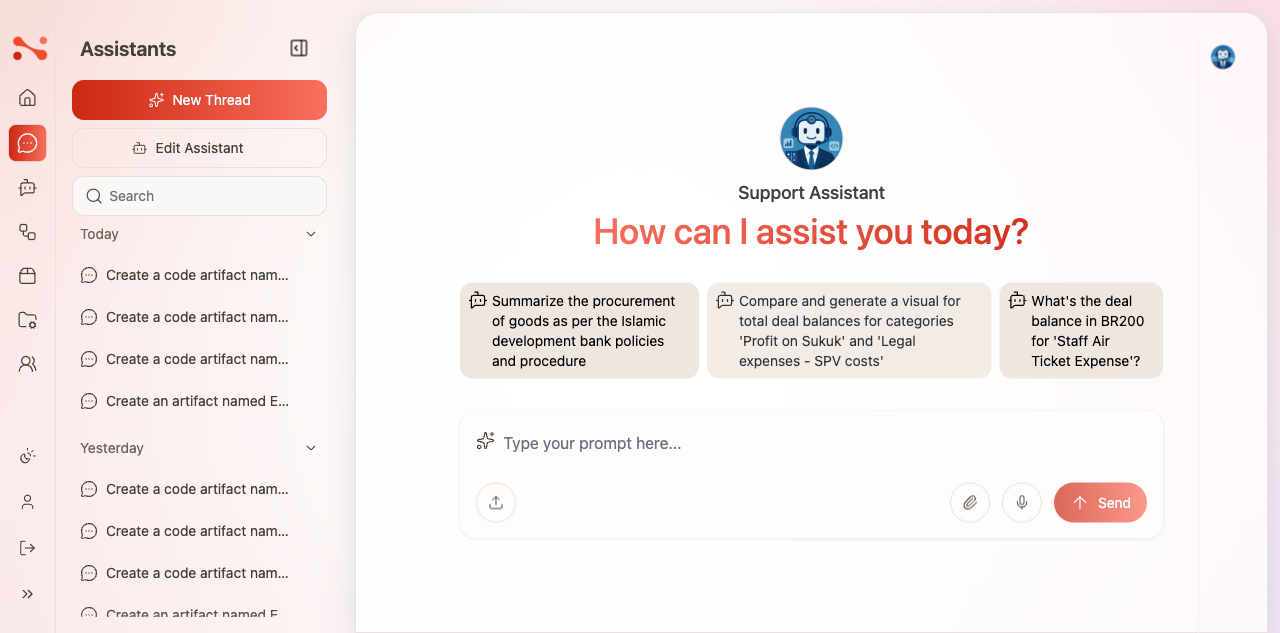
When you open an assistant, the chat starts empty with a heading, optional starter question chips, and the input bar at the bottom.
- Click a starter question chip to send it instantly, or type your own message in the input bar.
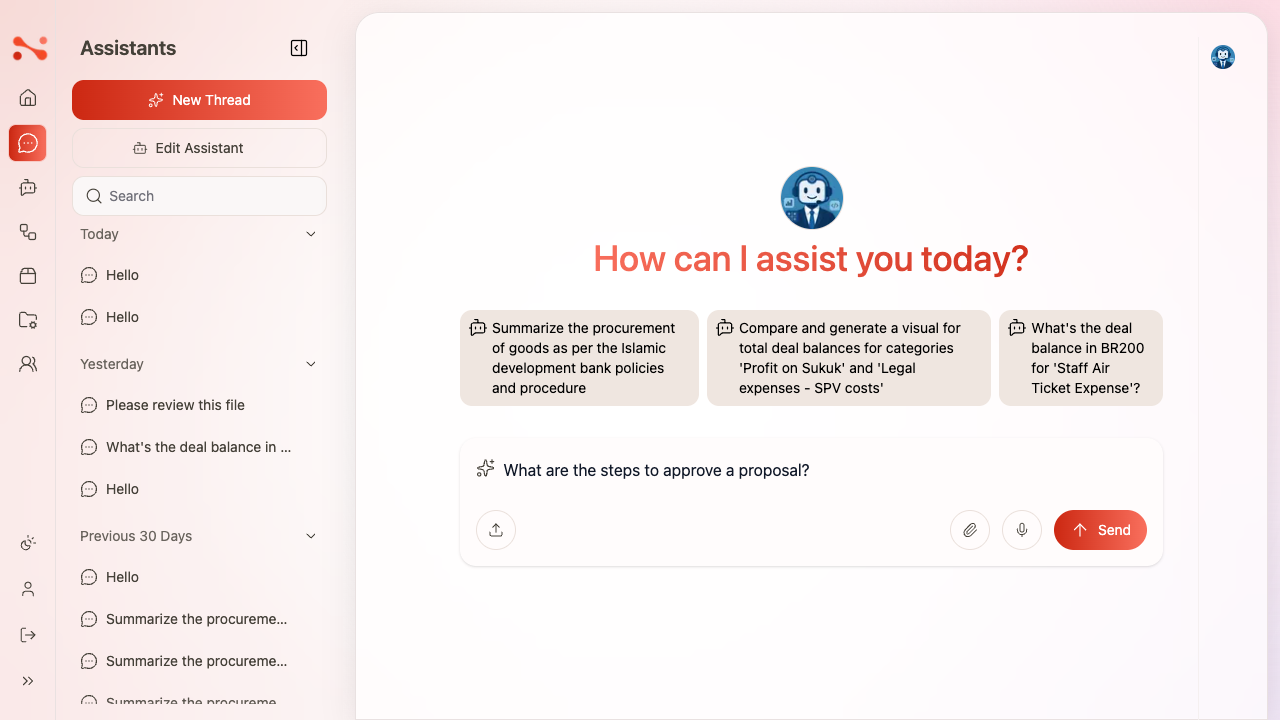
- Press Enter or click Send.
- The assistant processes your message through its Workflow and returns a response.
After a response:
- A collapsible Sources section appears below the response if the assistant has indexed document sources and Show Quote is enabled.
- Follow-up question chips appear below the response if Suggest Follow-up Questions is enabled.
- A Listen button (text-to-speech) appears on each response if Text to Speech is enabled.
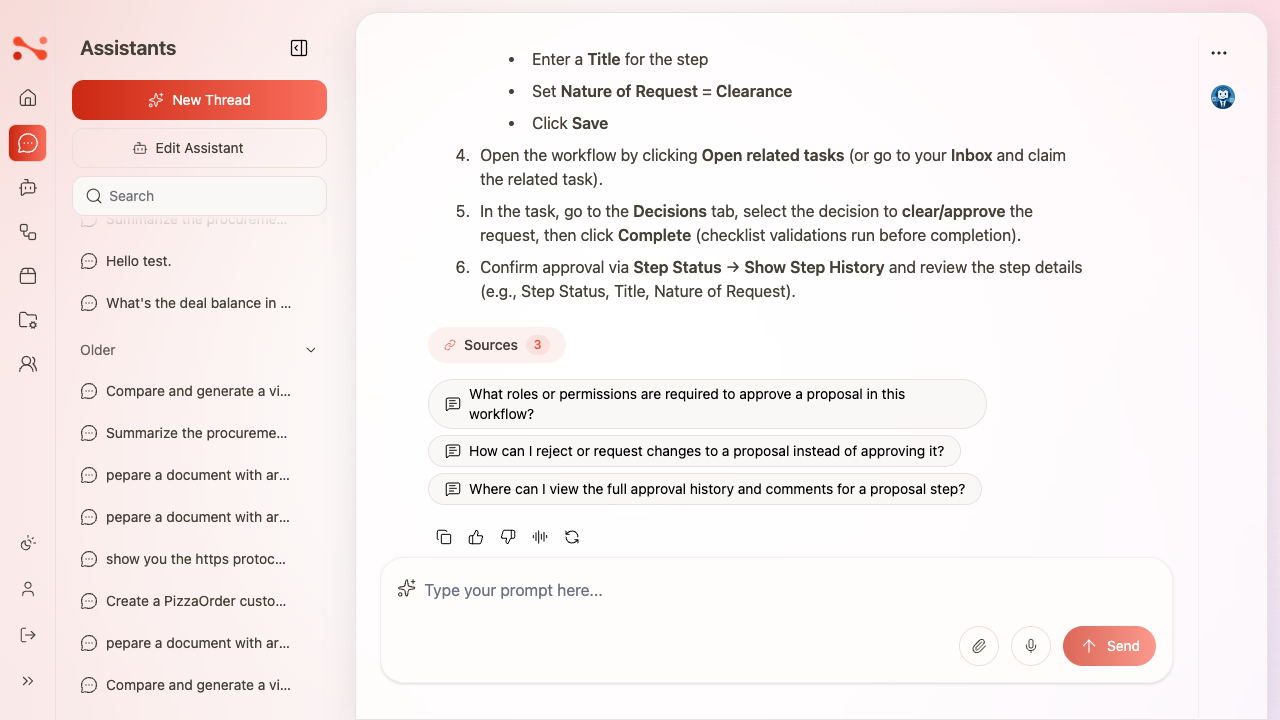
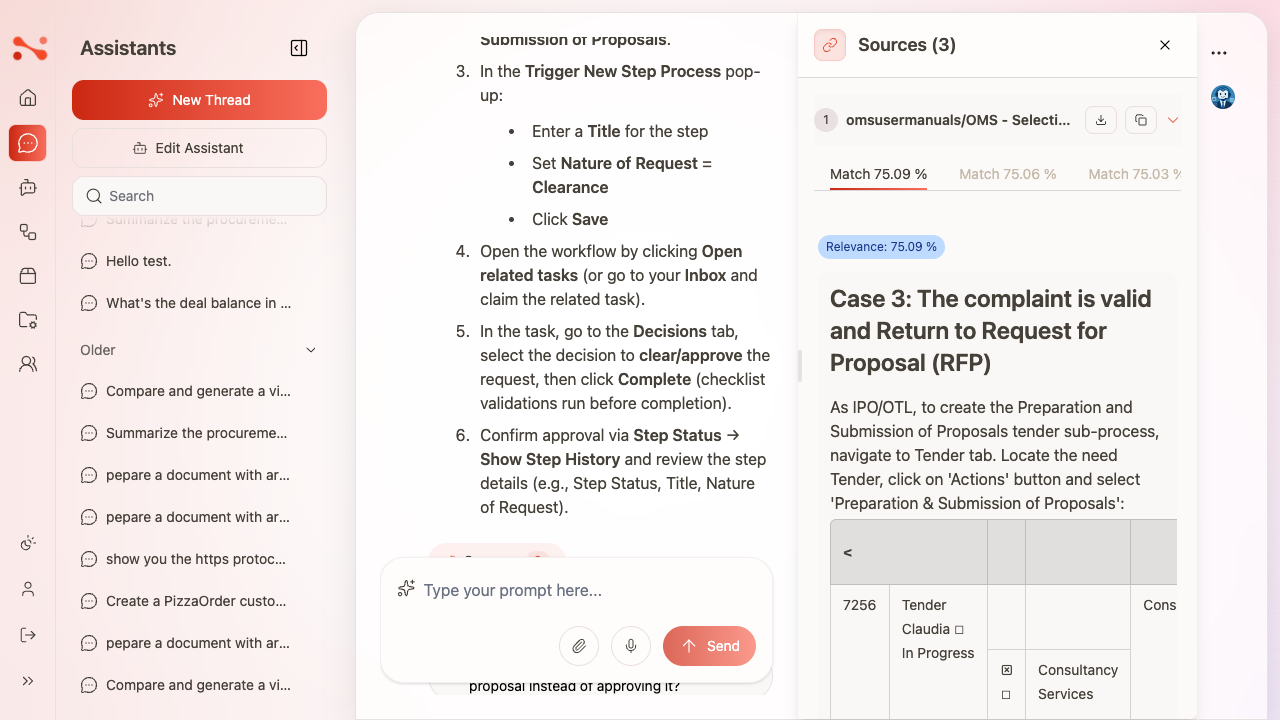
Source quotes
When an assistant is connected to indexed document sources and Show Quote is enabled, a Sources N button appears below each response. Expanding it shows:
- The source document path
- Relevance score (%)
- The quoted excerpt used to generate the answer
Attaching files
- Click the paperclip icon in the chat input bar.
- Select a file from your device — a preview appears in the input area.
- Add a message (optional) and click Send.
The file is uploaded and processed before the message reaches the assistant.
Starting a new conversation
Click New Thread to clear the chat and start a fresh session. Starter questions and the assistant heading reappear.
Chat history is stored server-side. Previous conversations are preserved on page reload — only New Thread starts fresh.
Empty chat state
When you open an assistant before sending any messages, the empty state shows:
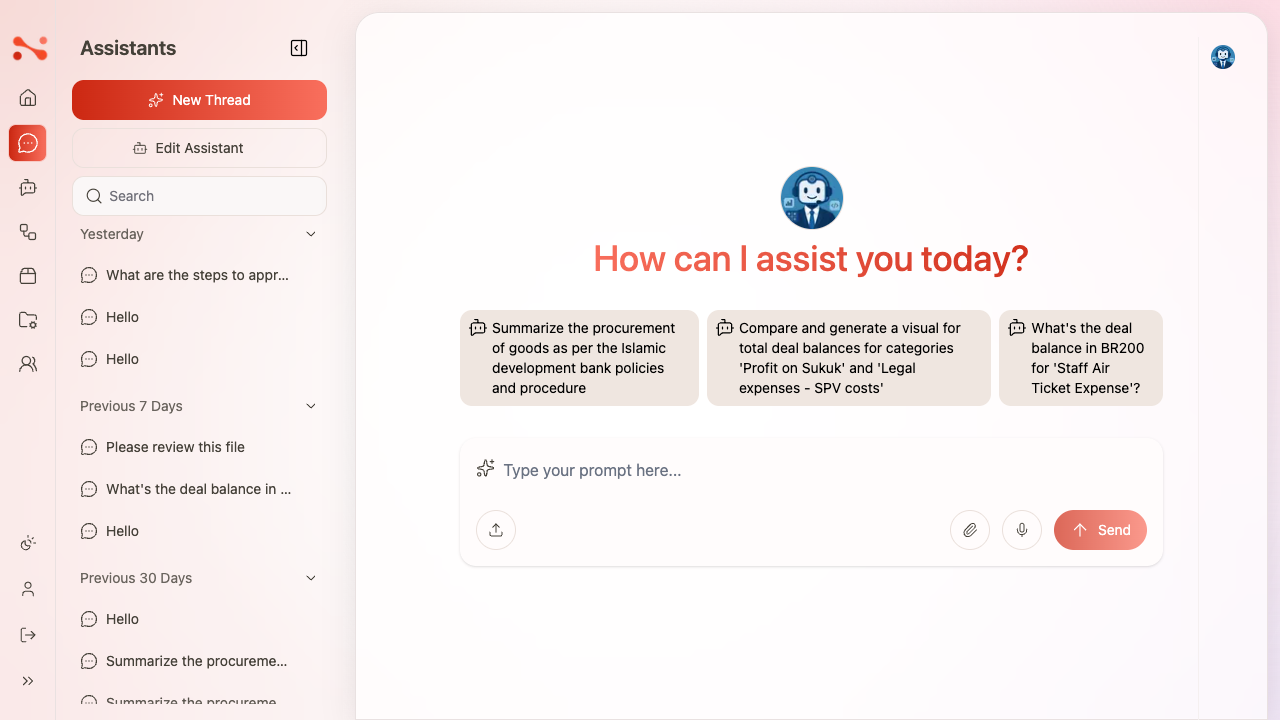
- The assistant avatar or brand logo
- Heading: "How can I assist you today?" (in brand red)
- Up to 3 starter question chips from the assistant configuration
- Chat input with placeholder: "Type your prompt here…"
- Send button disabled (no text in input)
Searching past conversations
Use the search field in the chat sidebar to filter your conversation history. Type a query to filter by conversation title.
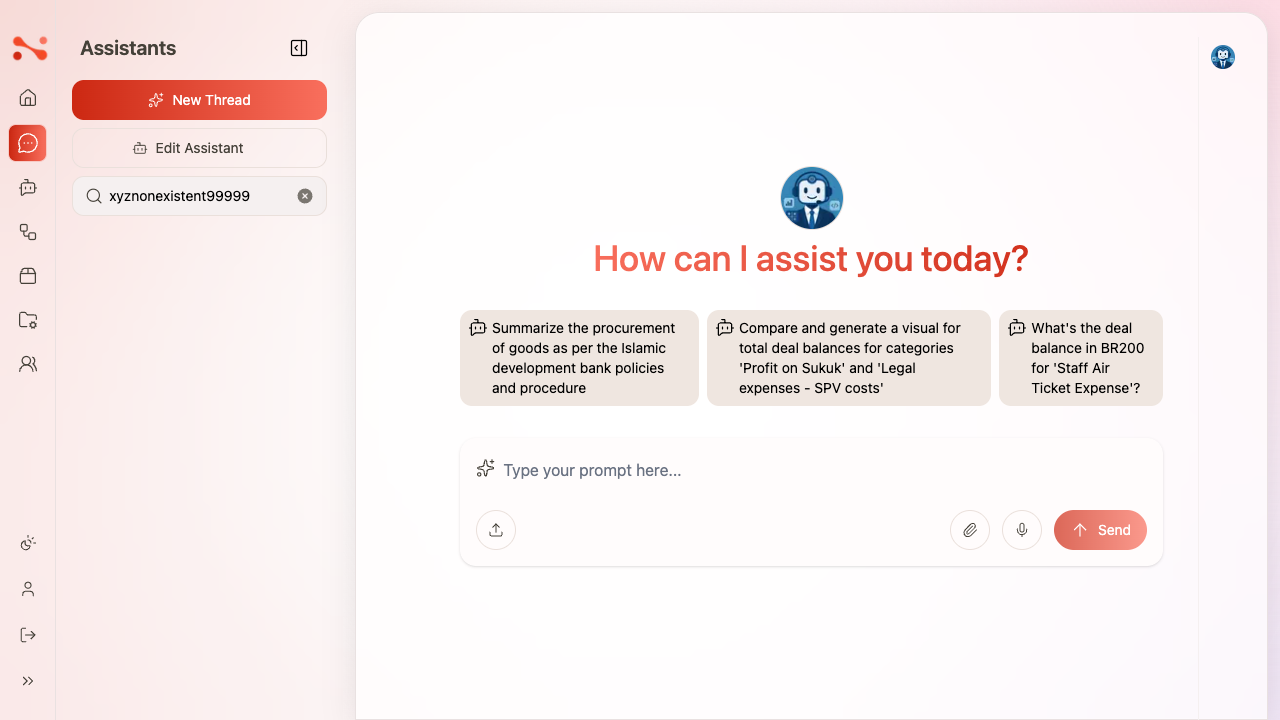
If no conversations match the search, the sidebar list shows blank with no message — it does not display "no results found". Clearing the search field restores all conversations.
Feature settings
Each assistant has a set of toggles that control what appears in the chat UI. These are configured in the assistant editor.
| Setting | Default | Effect |
|---|---|---|
| Show Quote | On | Source citations shown below responses |
| Suggest Follow-up Questions | On | 2–4 follow-up chips appear after each response |
| Allow File Attachments | On | Paperclip icon visible in the chat input bar |
| Text to Speech | On | Listen button available on each response |
| Timeout | 360 s | Maximum time to wait for an LLM response |
Business rules
- Empty message: the Send button is disabled until the input contains text.
- Message length: messages of 500+ characters are accepted.
- Response timeout: 360 seconds by default; configurable per assistant.
- Chat history: persisted server-side and restored on page reload.