Start a Chat
Open a conversation with any enabled assistant and get answers grounded in your data.
Ways to open a chat
From the Home page
- Quick-access cards — Click any of the 7 assistant avatar cards in the top row to go straight to that assistant's chat at
/assistants/\{id\}. - Quick chat input — Type a message in the "Ask Ai a question" bar and press Send. The message is routed to the Noema AI Help Assistant and a new session opens automatically.
From the sidebar
The sidebar Recent Assistants panel lists the 5 most recently used assistants. Click any name to reopen that assistant's chat.
From the Assistants grid
Navigate to /assistants-config/dashboard (or the All Assistants grid on the Home page) and click any assistant card to open its chat page.
Starting a new conversation
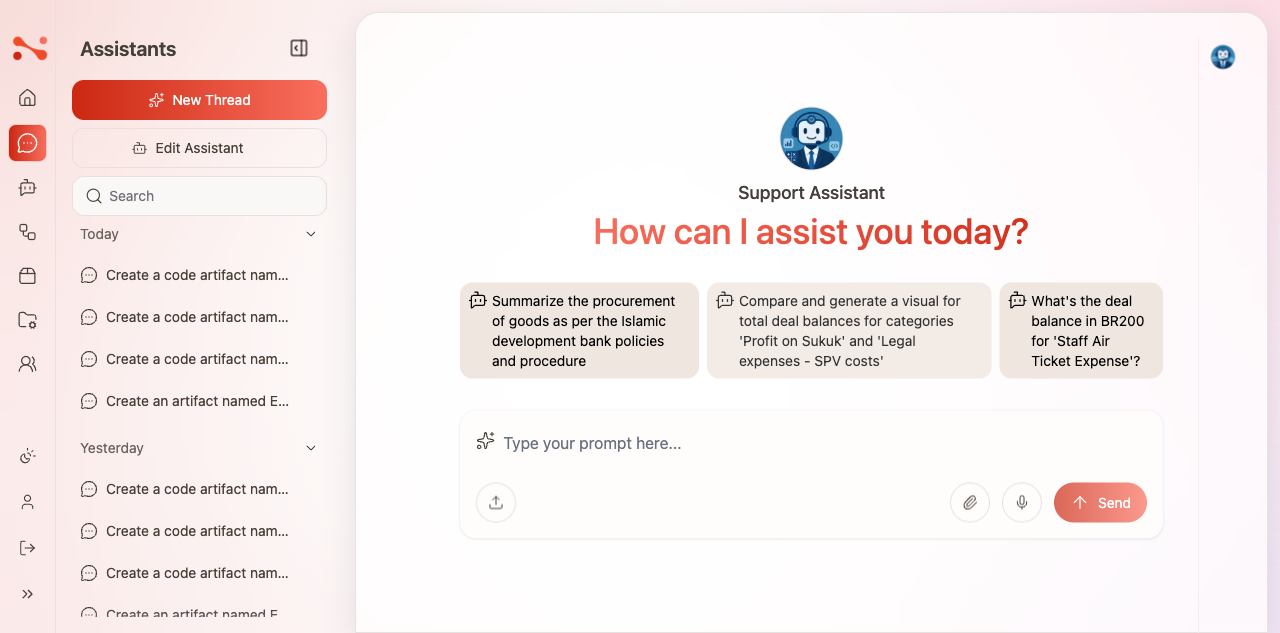
On any assistant chat page, click New Thread in the chat header to clear the current session and start fresh. Starter question chips and the welcome message reappear.
The previous session is saved automatically — it remains accessible in the conversation history panel.