Update Assistant Settings
Configure an assistant's behaviour, appearance, and chat UI features.
Where to find it
- Assistant editor:
/assistants-config/\{assistant-id\} - Reach it by clicking any assistant in the sidebar list on the dashboard
Editor overview
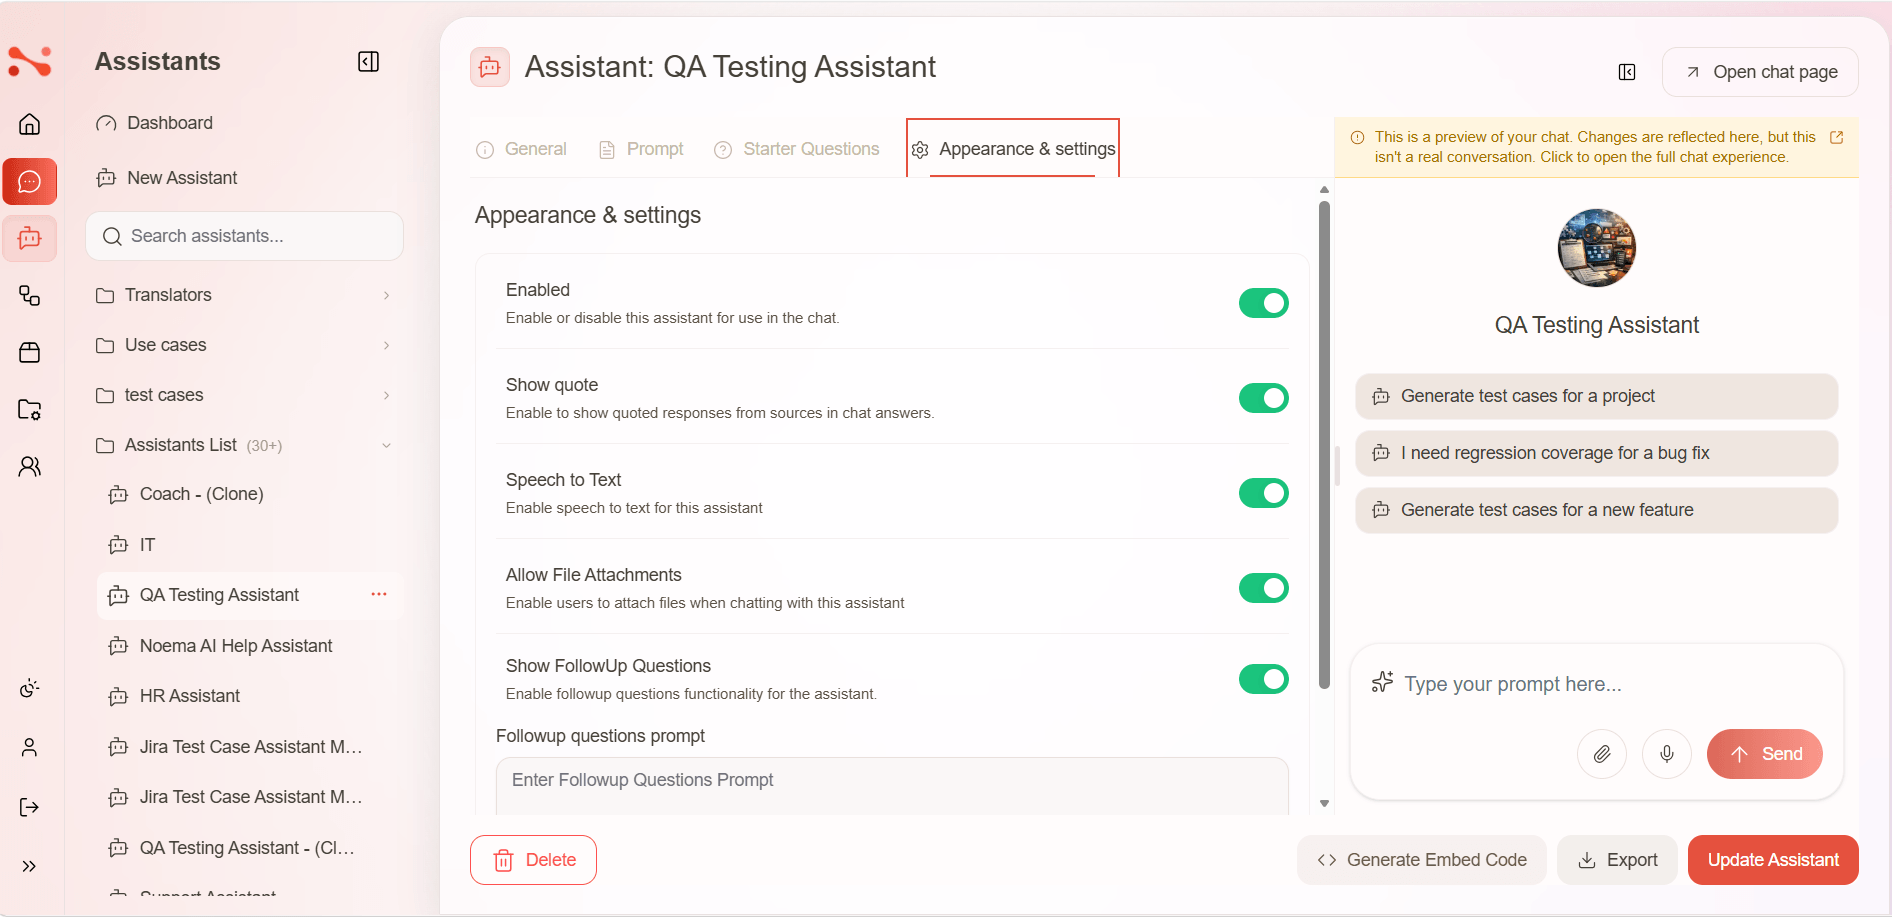
The assistant editor is organised into four tabs: General, Prompt, Starter Questions, and Appearance & settings.
General
Prompt
Starter Questions
Appearance & settings
Edit flow
- Click an assistant in the sidebar list.
- Modify any fields in the editor.
- Click Update Assistant — changes take effect immediately for new conversations.
Changes are only persisted when you click Update Assistant. There is no Cancel button on this editor — to discard unsaved edits, navigate away from the editor (or reload the page) before saving.
Live chat preview
A live chat preview sits to the right of the editor on desktop. It reflects behavioural changes (prompt, feature toggles, timeout, source nodes) in real time, but it is a preview only — not a saved conversation.
- Hide / show the preview with the panel toggle in the top-right.
- Resize it by dragging the divider between the form and the preview.
- Reset the preview session to start the sample conversation over.
- Open chat page (top-right) opens the assistant in the full chat experience. If the assistant is disabled, or you have unsaved changes, a dialog prompts you to enable and/or save before leaving.
The preview is desktop-only.
Configurable tabs
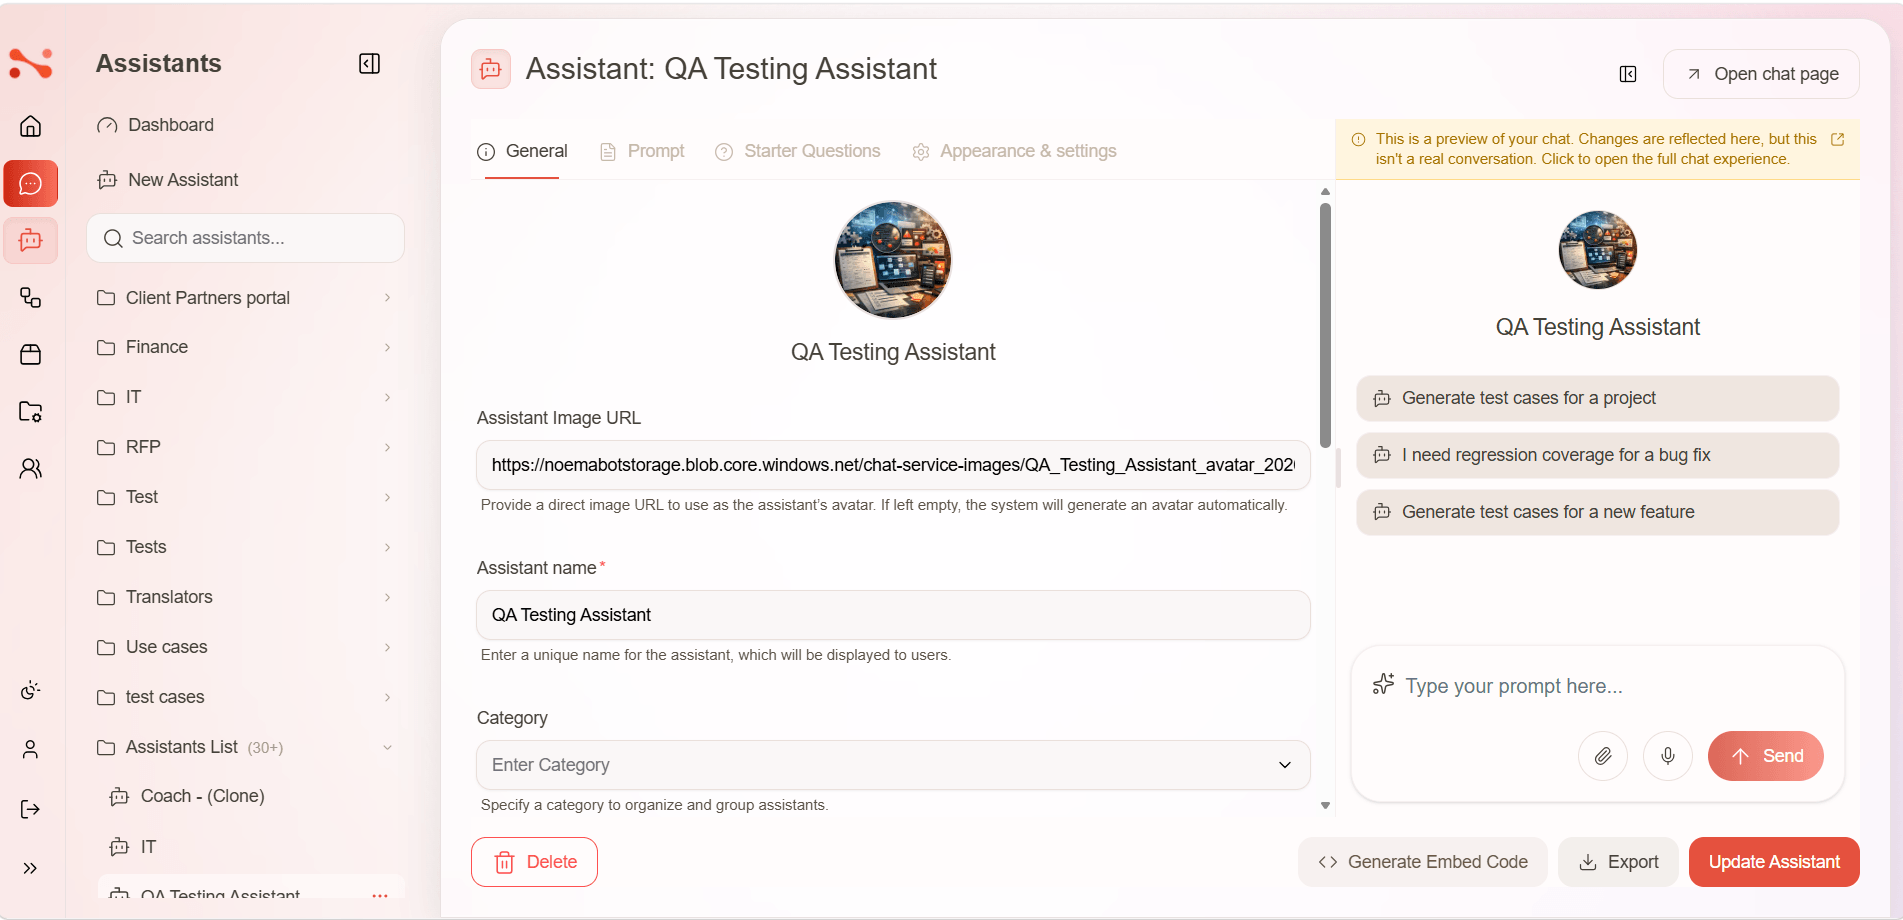
General
| Field | Required | Description |
|---|---|---|
| Assistant Image URL | No | Direct image URL for the assistant's avatar. If left empty, an avatar is generated automatically. |
| Assistant name | Yes | Unique display name shown to users. |
| Category | No | Free-text category to organize and group assistants. Disappears from view when search is active. |
Workflow
Each assistant has its own embedded workflow (flow.type = "agent"). It does not appear in the Workflows section of the app — it exists only within this assistant's context. The workflow card is shown at the bottom of the General tab.
The workflow section shows a "+ Add workflow" button when no workflow is assigned. Clicking it creates a new embedded workflow named \{assistant name\} Workflow and opens the workflow editor. See Create an assistant for the full creation flow.
Once assigned, a workflow card shows a mini canvas preview of the pipeline. From the card:
- Click to open the workflow editor at
/assistants-config/\{id\}/workflow/\{workflowId\} ...menu → Delete to remove the workflow — this deletes the embedded workflow and unlinks it from the assistant, but the assistant itself is kept
Configuration
| Field | Default | Description |
|---|---|---|
| Timeout | 360 | Maximum seconds to wait for an LLM response before the request is cancelled |
| Source Nodes Count | — (all) | Maximum number of source document chunks returned for RAG retrieval. Leave empty to return all available nodes. |
These fields now appear at the bottom of the General tab, below the Workflow card.
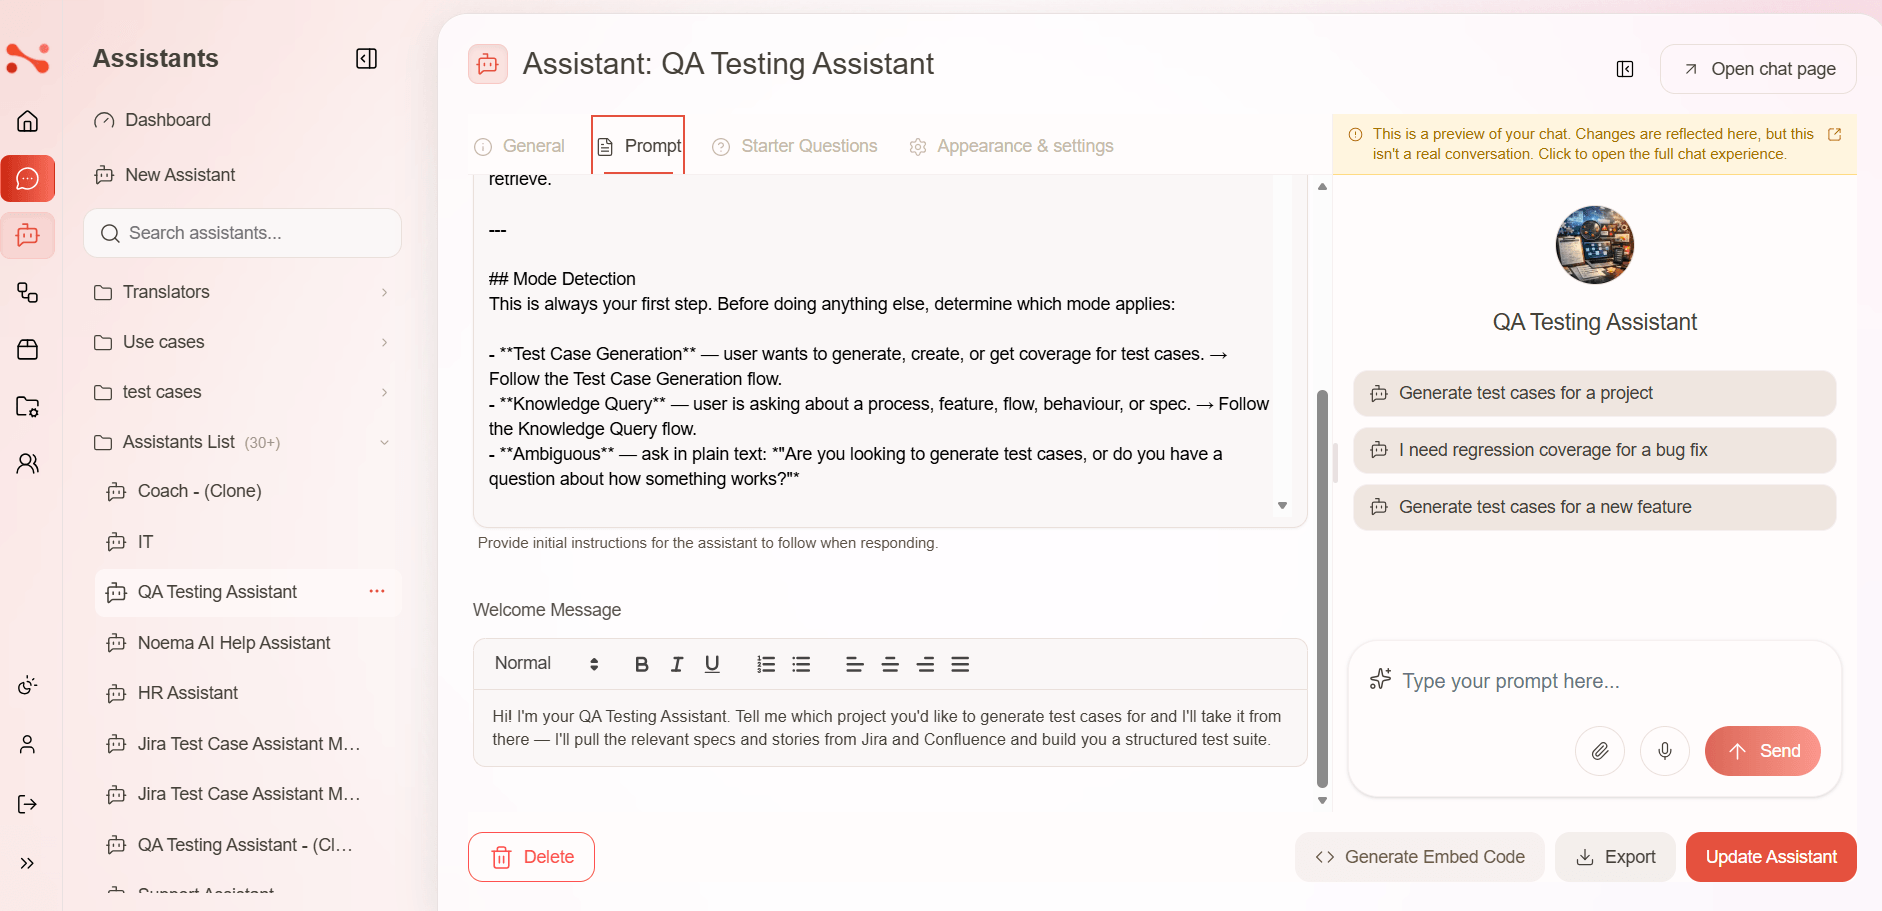
Prompt
| Field | Description |
|---|---|
| Assistant Prompt | System-level prompt that shapes the assistant's personality and behaviour. Preview and full-screen expand icons available above the field. |
| Welcome Message | Rich-text (Quill editor) message displayed at the top of each new chat session. Supports headings (H1–H3), bold, italic, underline, ordered/bulleted lists, and alignment. |
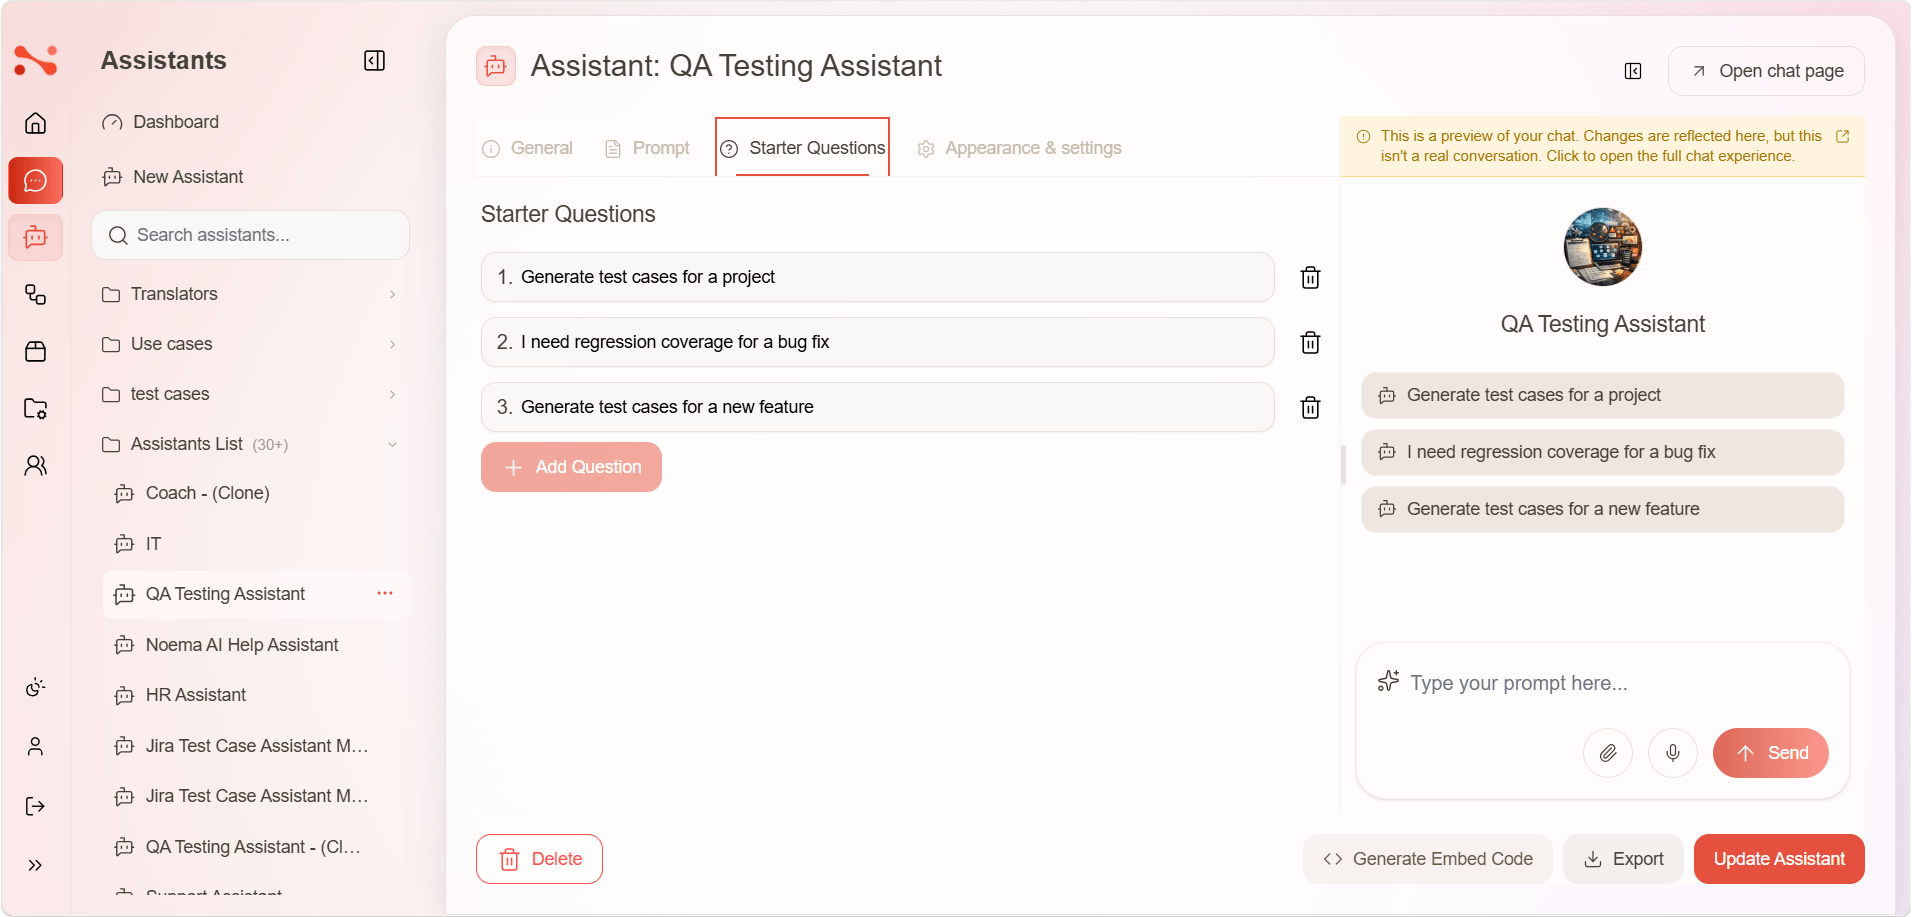
Starter Questions
Up to 3 question chips shown on an empty chat. Clicking one sends it immediately. Add with the + Add Question button; remove with the trash icon.
Appearance & settings
| Setting | Description |
|---|---|
| Enabled | Makes the assistant accessible to end users. |
| Show quote | Shows quoted source citations below each response (requires indexed Sources). |
| Speech to Text | Enables voice input (microphone) for this assistant. |
| Allow File Attachments | Shows the paperclip/attachment icon in the chat input bar. |
| Show FollowUp Questions | Enables 2–4 follow-up question chips after each response. |
When Show FollowUp Questions is on, a Followup questions prompt textarea appears — use the {conversation} placeholder in the prompt to fit the current conversation text.
If you save with Enabled on but no workflow assigned, the save is blocked and a dismissible "Workflow Required" banner appears. Add a workflow first, then save.
Other actions
The following actions are available at the bottom of the editor, and remain visible across all four tabs:
| Action | Description |
|---|---|
| Delete | Deletes the assistant. Located bottom-left. |
| Generate Embed Code | Opens a modal with the embed snippet to embed this assistant in an external page. |
| Export | Downloads the assistant configuration as a .json file. Only shown to users with clone permission. |
| Update Assistant | Saves changes — changes take effect immediately for new conversations. |
If you don't have update permission for an assistant, the editor opens in read-only mode: all fields are disabled and the Update, Delete, and Generate Embed Code actions are hidden. Export additionally requires clone permission.
Search and filter
On the dashboard sidebar:
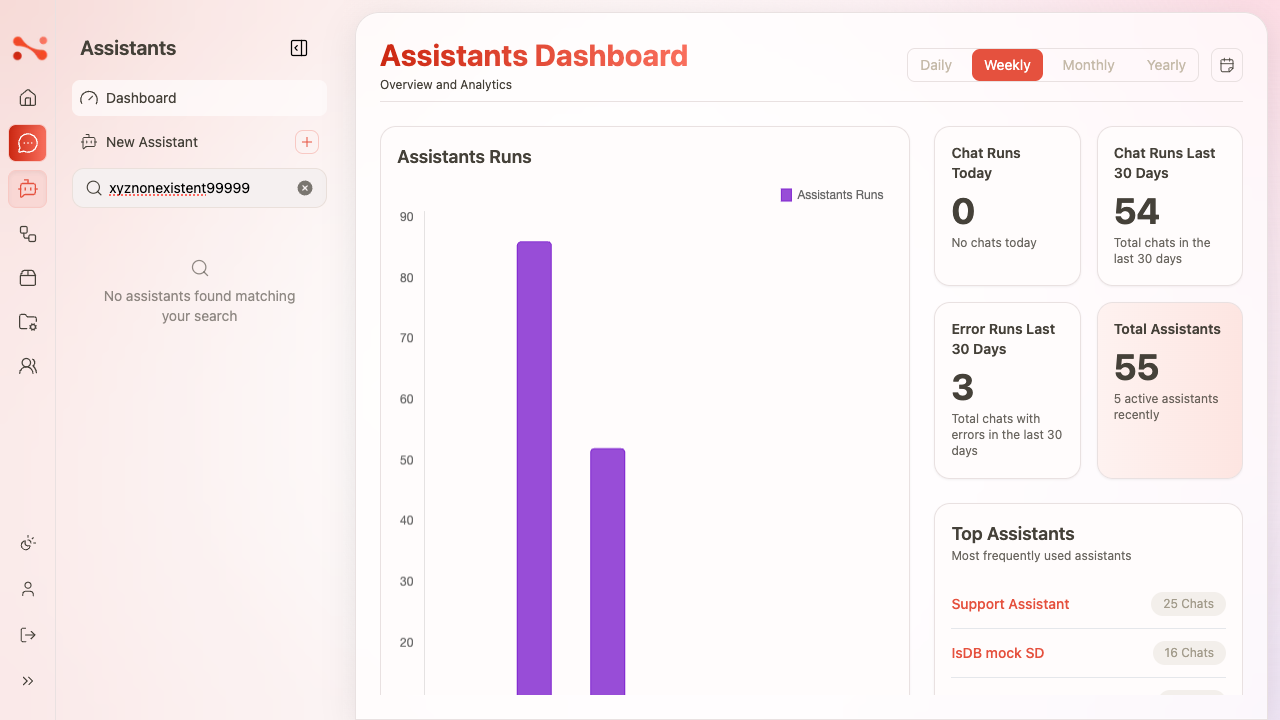
- Search — type in "Search assistants..." for real-time filtering. Category buttons disappear while search is active.
- Category filter — click a category to expand an accordion showing its assistants. The full list remains visible below.
When no assistants match the search: